Here is a seven week schedule to prepare for a Trip. It is written for going on a honeymoon but the system work for everyone. Have fun this week! I’m working on stuff and will be back to Writing on Feb 1st.


Health Storey Daily for Clients
Here is a seven week schedule to prepare for a Trip. It is written for going on a honeymoon but the system work for everyone. Have fun this week! I’m working on stuff and will be back to Writing on Feb 1st.
As you plan trips and look toward a healthier routine, this week’s newsletter brings you a practical, easy-to-follow prep plan. We’ve lined up daily goals to get your space, your packing, and your meals on track—plus a February veggies spotlight to keep your plate vibrant even while you’re on the go.

– Monday, January 26: Empty Trash from House
– Tuesday, January 27: Organize a Drawer
– Wednesday, January 28: Vacuum the House
– Thursday, January 29: Prepare to Leave on a Trip
– Friday, January 30: Organize Travel Bags, Clean Them
– Saturday, January 31: Travel Luggage for a Weekend
– Sunday, February 1: February is About Eating More Vegetables
– Hydration on the go: Carry flavour packets. My favourite drink mix contains 3 grams of electrolytes that hydrate and add flavour to city tap water or bottle of water you purchase at the store. If you are packing light, you do not need to bring your own drink containers on your trip.
– Smart Lunch options: Before lunch or dinner, eat a handful of nuts to add protein to your meal. While traveling, your meals may not be as balanced or may contain less protein than at home.
-Focus on Neat Movement: You will be on a flight, spend the time at the airport standing or walking around. Track your mileage on your phone. Make sure to use the bathroom before getting on the plane and limit what you eat while flying. Grab a beverage when you land to drink while going through customs and picking up your luggage.
Sleep: Take ear buds and a travel pillow. You can buy a travel pillow at the airport for around ten dollars and give it to someone as a gift. Once you are at your destination, stay awake as long as you can to avoid jet lag. Carry a compact eye mask, earplugs, a small pillow, and a reusable tote for day trips.
Travel health kit: Grab the first aid kit you created for traveling and make sure it includes: basic bandages, antiseptic wipes, pain relievers, any personal meds, homemade ginger candy.
– Veggies of the Month: Bok choy Mushrooms, Peppers and Lettuce. Each week the focus will be on adding vegetables to our rice for breakfast and lunch.
Topics for Feb: Quick Prep for Veggies, Storage ideas and nutritional information and research on different vegetables being added into the Daily Story month.

Best Office Layouts for a Productive, Adaptable Workplace
The layout of an office does more than just hold desks and chairs. It shapes how people collaborate, where deep work gets done, and how a company adapts to change. A great office layout supports your culture, keeps people engaged, and scales with growth. The challenge is balancing openness with privacy, collaboration with focus, and cost with comfort. Below are the most effective layouts you’ll see in modern offices, along with when they shine, common pitfalls, and practical tips to make them work for your team.

Open-Plan / Collaborative Layout
What it is: Long rows or clusters of desks with minimal walls, designed to enable quick conversations and spontaneous collaboration.
Pros
Cons
When it shines
Activity-Based Work Layout
What it is: A campus-like approach with distinct zones for different activities—focus, collaboration, socializing, and breakout work—often with a mix of furnishings and clever wayfinding.
Pros
Cons
When it shines
Practical Tips
Cellular Private Offices / Mixed Privacy Layout
What it is: A mix of private offices or enclosed workstations with doors, balanced by shared spaces for meetings and collaboration.
Pros
Cons
When it shines
Hybrid / Breakout-Heavy Layout
What it is: A flexible mix of small nooks, breakout lounges, informal seating, and short-task desks designed to support quick, informal work sessions and meetings.
Pros
Cons
When it shines
Practical tips
Modular / Flexible Layouts with Movable Walls
What it is: Floor plans built with demountable walls, modular furniture, and easy-to-reconfigure components that evolve with your business.
Pros
Cons
When it shines
Practical tips
Deskless / Hot-Desking Layout
What it is: A system where employees don’t have assigned desks; they choose a workstation when they arrive, often guided by a booking app.
Pros
Cons
When it shines
Clean the computer keyboard and the screen of your phone. Think about changing your phone case.

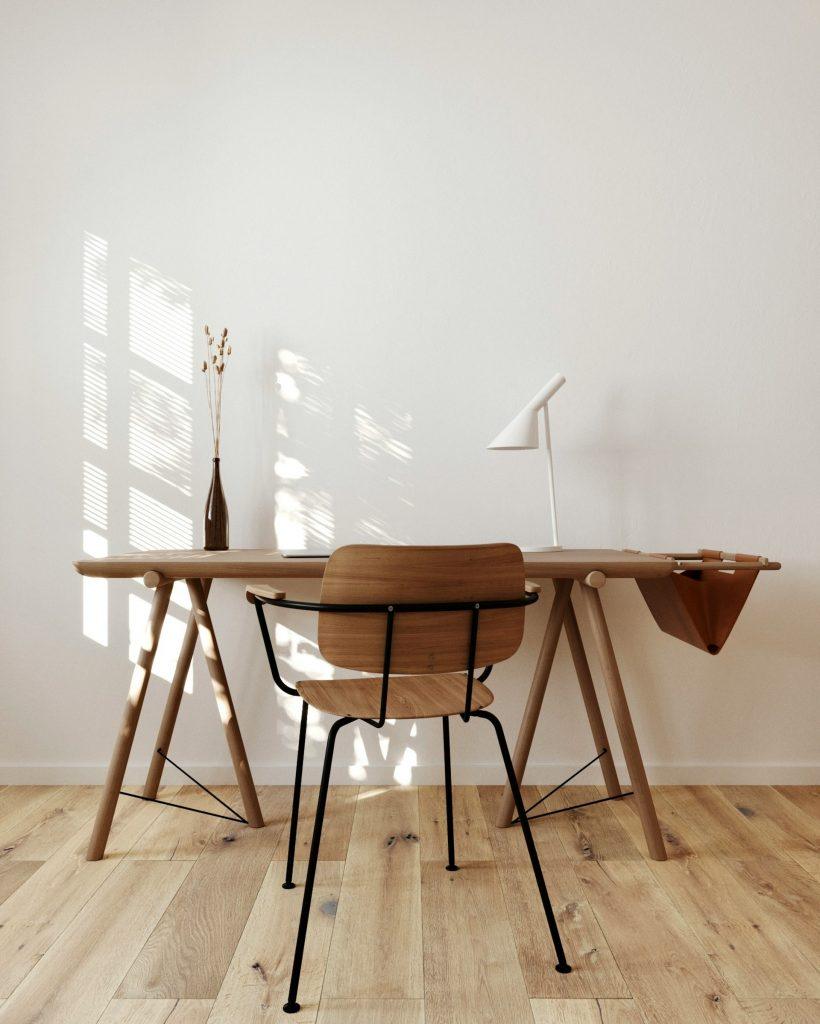
What are we writing about today? Building a calm, productive home office with smart layout, clever storage, and simple maintenance habits that keep clutter at bay—without sacrificing style or comfort.
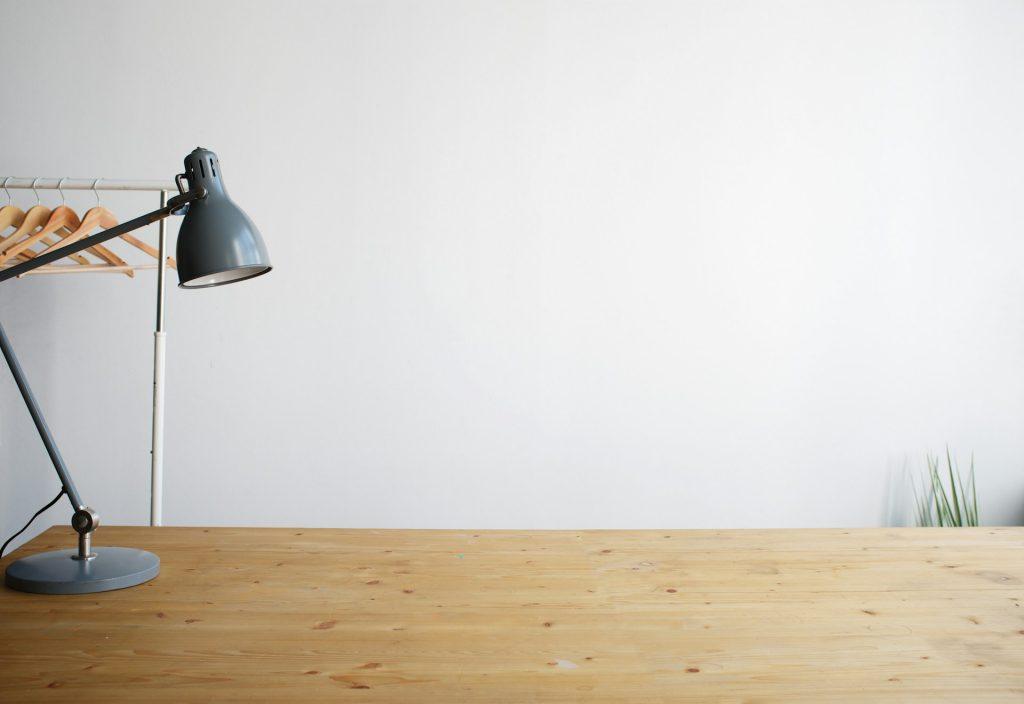
Monday : Daily Health Storey Goal | Clear off your desktop for one hour.
Working from home can blur the line between living space and workspace, which often leads to clutter creep. The goal isn’t a sterile office; it’s a space that feels calm, functions efficiently, and still reflects your personality. Below is a practical guide to designing a home office that stays neat through smart layout, thoughtful storage, and easy maintenance routines.
Title: The Essential Home First Aid Kit: What to Include, How to Store It, and Basic First Aid for Common Home Injuries
Being prepared with a well-stocked first aid kit can make a real difference when accidents happen. A good kit isn’t just about having bandages; it’s about having the right supplies organized so you can act quickly and calmly. This guide gives you a practical shopping list, storage tips, and simple first aid steps for the most common home injuries. If someone is severely injured (heavy bleeding, trouble breathing, chest pain, fainting, head injury with confusion, etc.), call emergency services right away.
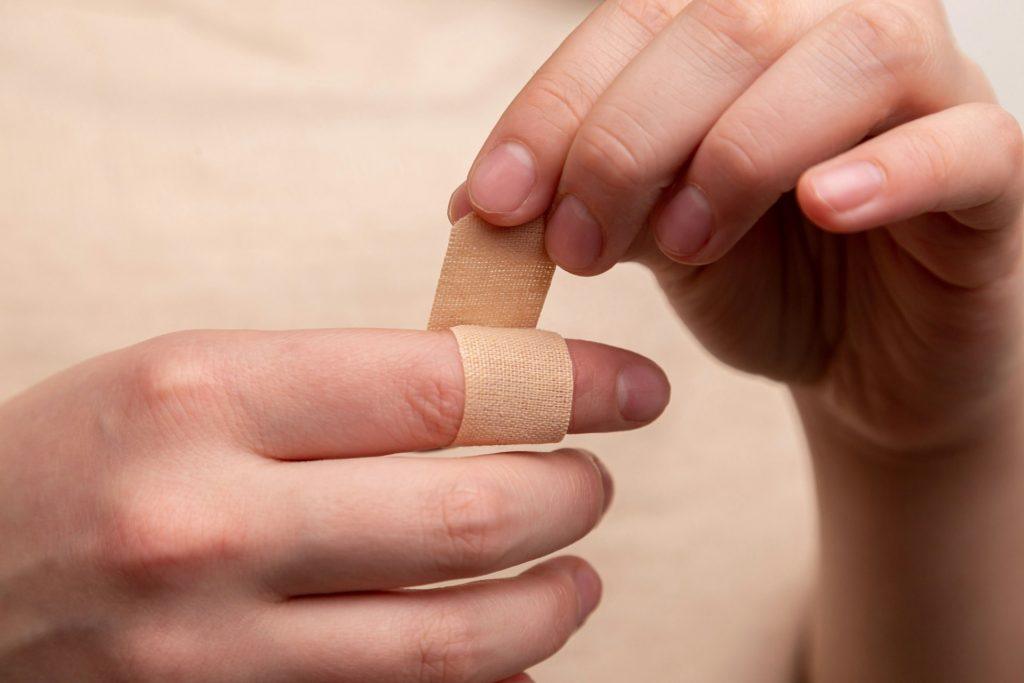
Think in categories: supplies for cleaning and protecting wounds, bandages, tools, medications, comfort items, and documentation. Adapt quantities to the size of your household.
Wound care and dressings
Bandages, tapes, and wraps
Tools
Pain relief, antihistamines, and hydration
Injury care
Kids and Seniors – Designed First Aid Items
Car and travel Kit
Notes

A cluttered bathroom can make mornings chaotic and showers feel less spa-like. The key is to keep only what you truly use, store the rest where it belongs, and choose colors and organizers that reflect calm and cleanliness. Below is a practical guide you can follow to reclaim your space—without turning it into a full-day project.
What to keep in the bathroom (the essentials)
These items belong in the bathroom vanity or medicine cabinet because they’re used daily or weekly and benefit from being close at hand.
Items you can relocate from the bathroom
Where to relocate items that are not essentials
Tips for keeping the bathroom from looking cluttered
Key ideas for “clean-looking” colors
Three ready-to-use palettes (with vibe and how to apply)
Palette A: Crisp & Airy
If you’ve ever felt that your bedroom carries a heaviness or restlessness, the space under the bed might be part of the problem. In many feng shui and energy-focused design ideas, clutter—especially tucked away where you can’t see it—still disrupts the flow of chi. The simple rule: keep the space under your bed empty. Not only can this reduce mental clutter and energy stagnation, it also makes your room easier to clean and helps you sleep more soundly. And yes, the “out of sight, out of mind” tendency is real—when nothing is stored under the bed, there’s nothing to forget about, misplace, or trip over.

Pull everything out from under the bed. Decide what truly needs to stay in your home and what can be donated , recycled, or trashed.
Move seasonal or rarely used items to a closet, dresser, or storage ottoman—preferably with a lid to keep dust out.
For items you must access occasionally, use a high-priority, easily accessible storage solution outside the under-bed zone.
Implement a strict “no items under the bed” rule. If something must be placed there temporarily, set a 24–48 hour move-out reminder.
Build a nearby, tidy alternative
Add a storage option near or at the foot of the bed (a storage bench or a small chest) for linens, extra blankets, or reading materials. This keeps essentials reachable without tucking them under the bed.
Vacuum or sweep under the bed at least once a month to prevent dust buildup. If you have a platform bed with a solid frame, consider a quick wipe-down to keep the space fresh.
Keep the area around the bed clear on all sides.
Ensure the bed has a solid headboard and or is anchored to a wall to enhance a sense of security and grounding.
Use soft, calming lighting and avoid electronics directly under or behind the bed to support restful energy.
Do not store anything under the bed, even temporarily.
Use closed storage (lidded bins, drawers, or cabinets) for items you need nearby but not beneath the bed.
Keep surfaces around the bed uncluttered: nightstands with only a few essentials, a small tray for daily items, and a calm color palette.
If space is truly tight, prioritize a minimal, high-utility approach: one small storage solution near the bed, not under it.
Bed placement matters: position the bed so you can see the door while lying down, but avoid direct alignment with the door. A sturdy headboard adds a sense of security.
Lighting and color: soft, warm lighting and calming colors.
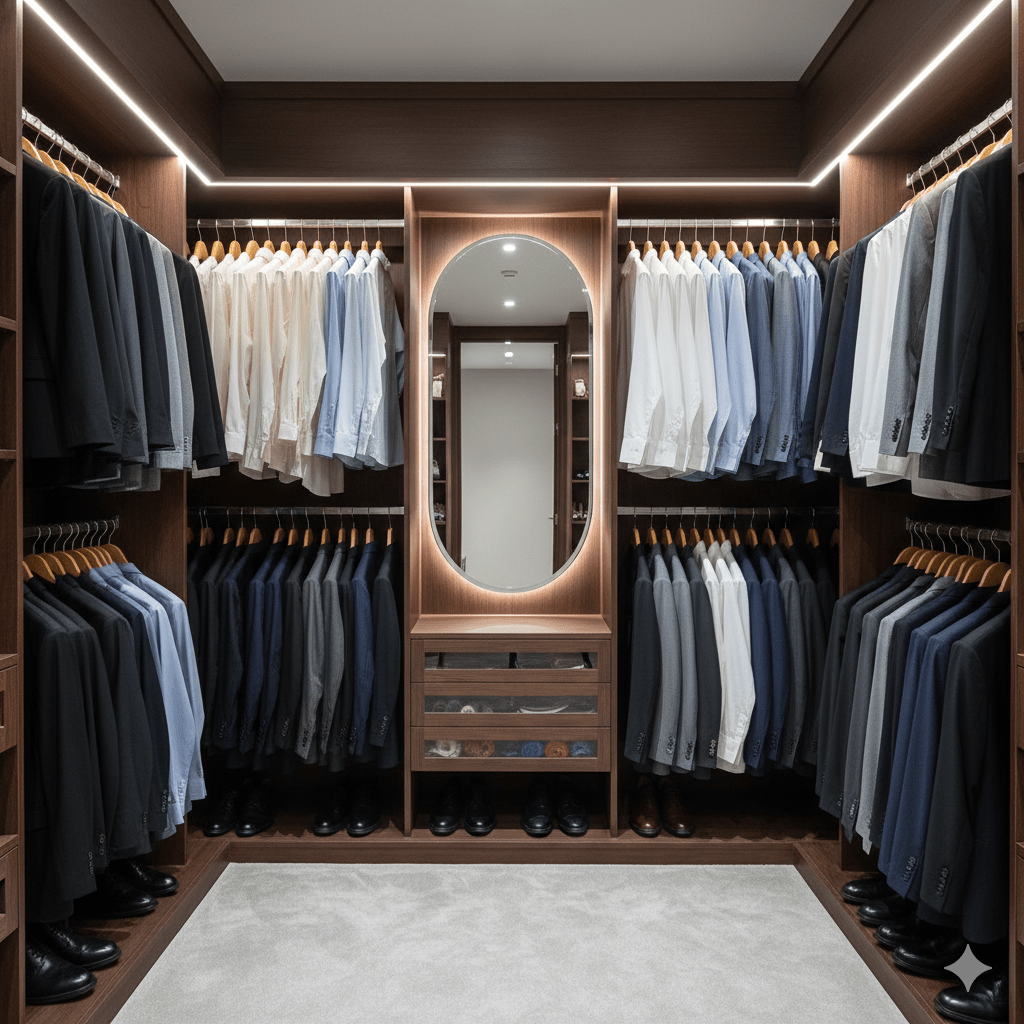
Very short post. I’m doing paperwork. Go and make sure everything is on a hanger, in a box, or in storage. Nothing out of place in the closet.