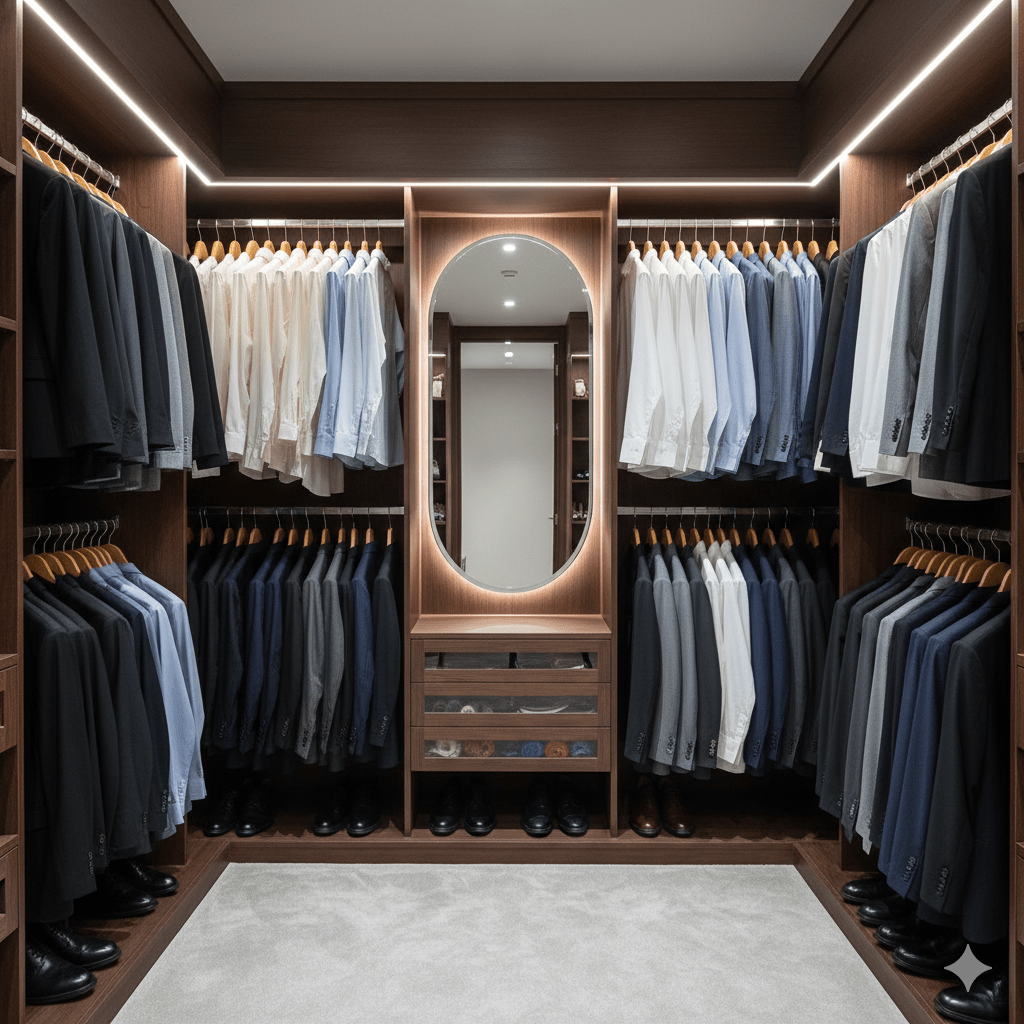

|Sort Wardrobe| January Daily Goal | One Hour |

One Hour a Month to a Seamless Wardrobe: Build a Work Capsule That Balances Work and Home Life


If you’ve ever felt overwhelmed by a closet full of clothes you rarely wear, you’re not alone. A focused, one-hour monthly routine can transform how you dress for work and for home life. The goal is a clear, efficient work capsule you can mix and match with ease, while keeping your casual life wardrobe distinct. Below is a simple, repeatable process you can run every month to sort, prune, and optimize your outfits.

Why a monthly one-hour wardrobe routine works

  • It’s pragmatic. Thirty to sixty minutes creates a consistent habit and allows you to sort your wardrobe but not invest the day in thinking about each outfit.
  • It keeps you agile. A small, well-curated work capsule makes daily choices faster and reduces stress.
  • It preserves balance. Having a separate weekend wardrobe or after work wardrobe helps you turn off work and focus on your home-life.
  • It adapts to life. You can adjust the size of your capsule by season, workload, or laundry schedule and budget.

Setting up a dedicated work capsule

Create two defined closets or sections:

  • Work capsule: only your work-appropriate tops, bottoms, dresses, jackets, and shoes.
  • Home-life wardrobe: casual wear, day wear, weekend wear, gym wear and special event outfits that are too formal for work.

Choose a cohesive color palette:

  • Neutrals you can pair easily | Neutral Colours = black, navy, gray, white |
  • One or two accent colors to keep things interesting

Focus on fabrics and care:

  • Pick fabrics that hold shape and color after washing (poly blends, ponte, wool blends, cotton).
  • Plan outfits that don’t require delicate handling if laundry is limited.

Build with a simple structure:

  • Tops: mostly versatile blouses, shirts, or knits
  • Bottoms: Tailored trousers, dark jeans, skirts
  • Outerwear: 2-3 blazers to make work suits
  • Dresses (women) : suit dresses

Shoes and accessories:

  • 2-3 work-appropriate shoes, loafers, low heels, boots
  • A small set of accessories to add personal style
  • Socks – enough to get through the week without doing laundry
[pms-restrict]

How many work outfits should you keep in the capsule wardrobe?


A practical starting point is a two-week work rotation, with a little extra for variety. A common, easy-to-manage target is 14–16 work outfits for a typical two-week cycle.

Build these outfits from:

  • Tops: 8–10 versatile options.
  • Bottoms: 4–6 pieces (trousers and/or skirts that pair with nearly every top).
  • Outerwear: 2–3 jackets or cardigans to switch up looks without adding a lot of pieces.
  • Dresses (optional): 0–2 if your work style supports it.

Why this range works:

  • It gives you enough variety to avoid repetition while still making laundry, ironing, and maintenance manageable.
  • It creates enough outfits to cover five workdays per week for two weeks, with a little cushion for special events or meetings.
  • It’s flexible: if you wash weekly, you can start with 10–12 outfits and add a couple more as you become confident with the system.

A 60-minute monthly routine. Use a timer if you like; the goal is a declutter routine you can complete each month.

  • Gather all clothes that you think might belong in the work capsule tops, bottoms, jackets, dresses, shoes, and accessories. Remove all clothing items from the wardrobe that you would not wear for work.
  • Remove items that are too stretched, too tight, or worn out.
  • Note items that look dated or are uncomfortable. Place them in storage or in a bag for alterations or sending to Charity.
  • Keep only what fits and aligns with your work goals and work dress code.
  • Keep the work capsule on one side of the closet.
  • Move the home-life wardrobe to the other side of the closet.

If you still have time in your monthly hour, organize clothing into capsules and consider new purchases.

Workspace setup:

Use labeled hangers for work items; keep your work capsule visually distinct from home items.

Build the work capsule:

  • Choose 8–10 tops and 4–6 slacks, jeans, or skirts.
  • Add 2–3 jackets that mix and match with multiple outfits.
  • Add 0–2 dresses if suited to your work environment.
  • Select 2–3 pairs of work shoes

If you like being organized, keep an inventory of your clothing and items to buy to strengthen your work capsules.

[/pms-restrict]

Cleaning Goal | Cleaning Around the Bed | Health Storey January |

Welcome to Monday! I’m working on the corporate paperwork and training an AI but the cleaning Goal for you and for myself today is:

| Clearing the space around the bed – Decluttering – Getting rid of visual stress |

Did you drink your coffee today? For detoxification, it is important to have coffee in the morning with some dairy. You can have dairy in your coffee or have a piece of cheese. Health Storey Coaches can explain to you the importance of coffee with dairy milk.

Clear Space, Clear Mind: The Importance of Minimal Visual Clutter in the Bedroom (Especially Around the Bed)

If your bedroom feels like a staging room for everything you own, your sleep routine might be paying the price. Visual clutter can drain energy, disrupt relaxation, and even make mornings feel chaotic. The good news? A simple, deliberate approach to keeping the space around your bed free of clutter can transform how you rest, recharge, and wake up. Here’s why it matters and how to make it work in real life.

Why visual clutter around the bed matters

  • Sleep quality and stress: A calm, orderly environment signals to your brain that it’s time to unwind. When surfaces are crowded with books, devices, and laundry, your brain has more stimuli to process at a time when it should be winding down. A cleaner visual field can help reduce cognitive load and promote deeper, more restorative sleep.
  • Safety and ease: The bed is the room’s center of comfort, but it’s also a potential trip hazard if cords, shoes, or laundry spill into the floor or nightstands. Keeping the space around the bed clear reduces the risk of stumbles at night and makes it easier to get in and out of bed.
  • Routine and mental clarity: A tidy bedside area supports a smoother evening routine. When you know exactly where the essentials live (lamp, water bottle, a notebook, a charger), you waste less time searching and more time relaxing or drifting off.
  • Ambiance and mood: Clutter clashes with a tranquil mood. A minimal, uncluttered vibe—soft textures, warm lighting, and a cohesive color palette—creates a sanctuary-like feel that’s inviting to rest.

What “clutter around the bed” typically looks like

  • Nightstands overloaded with gadgets, cables, and random papers
  • Cables and chargers sprawling across surfaces or the floor
  • Stacks of books, magazines, or laundry piles near the bed
  • Decorative items that aren’t used for sleep, right at eye level
  • Under-bed storage that’s overflowing or difficult to access
Content Below is for Subscribers to Daily Storey
[pms-restrict]

A practical path to a clutter-free bed space

Step 1: Start with the essentials, then edit

  • Identify 2–3 bedside essentials you actually use within reach (e.g., a lamp, a water glass or bottle, a phone or book, and a small notepad/pen). Anything beyond that is optional.
  • Use a shallow tray or small container on each nightstand for items you want to keep out but corralled (watch, jewelry, coins, remotes). This keeps surfaces visually calm.

Step 2: Tidy cords and devices

  • Create a dedicated charging station away from the bed line (a small shelf or a corded tray at the foot of the bed works well). Use cord organizers or a simple rubber grommet to route cables neatly to a power strip.
  • Consider wireless charging for fewer cables on the nightstand, but don’t let the charging clutter migrate to the floor or be visible as a tangle.
  • If you don’t need a device at bedtime, place it out of arm’s reach or in another room to reduce wakeful scrolling.

Step 3: Manage books, papers, and clutter hotspots

  • Limit the number of books or magazines in the bedroom. If you have stacks, move them to the living room or other rooms for storage. Rotate a single “current read” and place others neatly in a low, closed-storage bin or on a shelves by category.
  • No paper in the bedroom. Place a small filing tray or a magazine holder near the door on a dresser or in a closet to deal with papers and get them to where they can be filed or properly stored. Recycle or scan what you don’t need to keep in physical form.

Step 4: Reassess under-bed storage | We will talk about this again later in the week. |

  • A clear under-bed area feels instantly more open. If you need storage, choose flat, uniform containers that slide easily and label them. Avoid dark, bulky bins that invite you to shove more items under there.

Step 5: Create a safety-first layout

  • Keep walkways clear. A clear path from the bed to the door reduces bumping into furniture in the dark and breaking your foot.

Step 6: Design for calm

  • Embrace a neutral colour palette and soft textures. Neutral walls, low-contrast bedding, and minimal décor help the room stay calm.
  • Choose warm light bulbs. A single bedside lamp with a warm bulb sets a soothing and calming room lighting.
  • Add one plant that likes being near humans and recycling our air quality.

Practical routines to keep clutter at bay

  • Before bed, set a timer and put away items, straighten the nightstand and make sure there is nothing random on the floor. It’s quick, and you’ll wake to a tidy space.
  • One-in, one-out rule: For every new item that comes into the bedroom (a book, a gadget, clothing), remove another item. This keeps accumulation under control.
  • Daily laundry: Place dirty clothes in a hamper or in the washer and away from the bed to prevent piles from forming on the floor or chair.

Quick wins for Cleaning

  • Replace a cluttered nightstand with a single tray and two essentials: a small lamp and a water bottle. Remove all other items.
  • Install a cable management solution (cord clips, a shallow tray, or a small box) to hide or organize charging cables.
  • Clear the floor around the bed on each side.
  • Use dedicated closet storage or storage furniture to keep items that are required for bedroom storage.
[/pms-restrict]

| Day 5 | On-Ramping | Red Light Foods

Detox Your Kitchen: Removing Everything That Causes You to Overeat Calories

When it comes to managing weight and creating healthier eating habits, the environment you live in plays a crucial role—especially your kitchen. If your kitchen is filled with tempting snacks and calorie-dense foods, resisting overeating can become a battle. One effective way to regain control is to detox your kitchen by categorizing and removing foods based on their ability to trigger overeating.

[pms-restrict]

Understanding the Traffic Light Diet for Detoxing

Originally developed in the late 1970s and early 1980s by Dr. Leonard H. Epstein and his colleagues, the “Traffic Light Diet” was designed as a simple dietary tool for family-based childhood weight research. This system uses three colors—red, yellow, and green—not to describe the colors of foods themselves, but as a guide to regulate eating behaviors. For detoxing and controlling overeating, we can adapt this system to classify foods based on how they impact your tendency to overconsume.

  • Red Foods: These are the biggest triggers for overeating and should be removed from your kitchen. Red foods often include highly processed, sugary, or high-fat items that prompt cravings and make it hard to stop eating once you start. This category may also include comfort foods that are high in calorie.
  • Yellow Foods: Yellow foods aren’t outright harmful but may still pose some risk of overeating or may not be the healthiest choice. These should be kept in limited quantities in your kitchen.
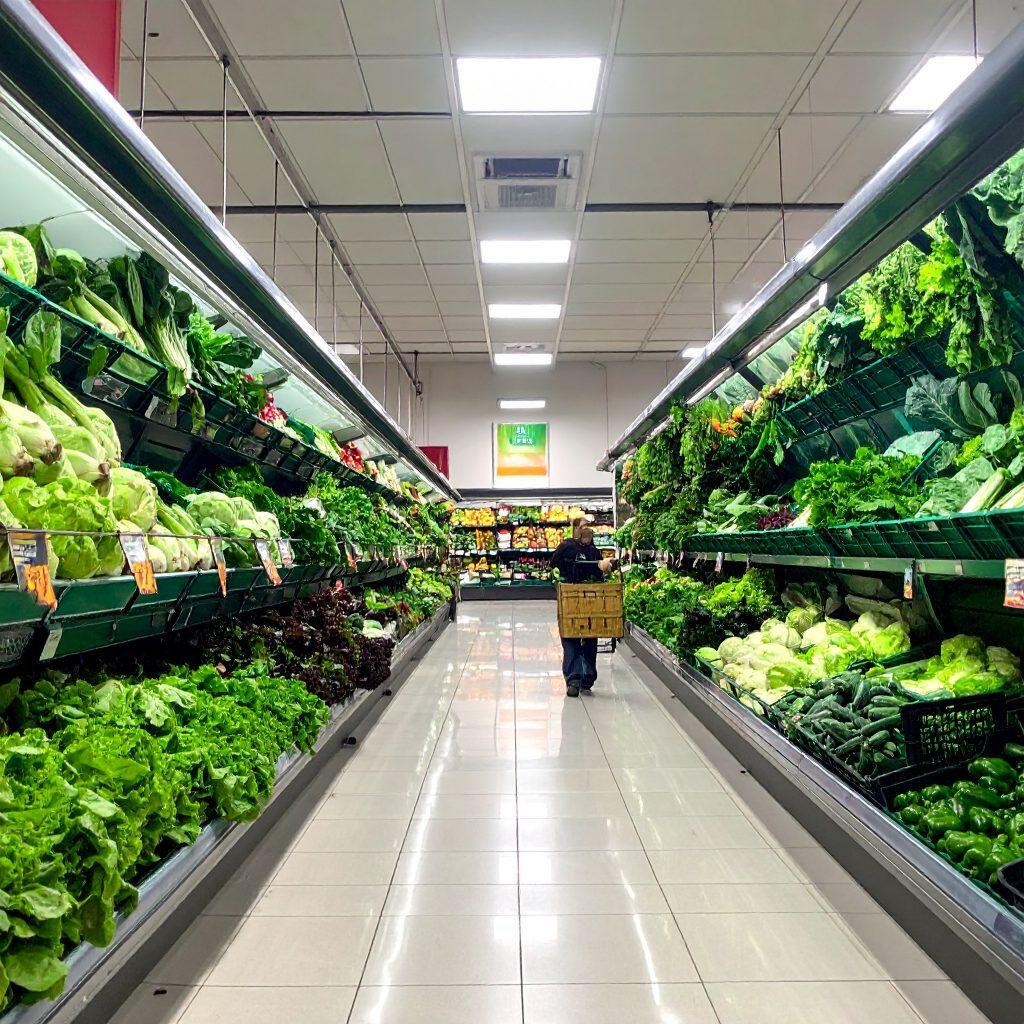
  • Green Foods: These are the safe, healthy options that won’t trigger overeating and are good to have readily available. Green foods should become staples in your kitchen detox.

Red Foods to Remove from Your Kitchen

Red foods tend to have characteristics that make them highly palatable and easy to overeat. Examples include:

  • Candy, chocolates, and sweets
  • Sugary cereals and pastries
  • Chips, crackers, and other salty snacks
  • Soda, sweetened beverages, and energy drinks
  • Ice cream, baked desserts, and processed foods high in sugar and fat

Removing these foods can dramatically reduce temptations and mindless snacking, helping to break the cycle of overeating.

Yellow Foods to Manage Carefully

Yellow foods aren’t forbidden, but they demand caution:

  • Whole grain baked goods and cereals with moderate sugar
  • Natural nut butters (watch portion sizes)
  • Cheese and yogurt with some added sugar or fat
  • Dried fruits (high in natural sugar, consume in moderation)
  • Homemade treats with controlled ingredients. ( Avoid baking during on-ramping.)

Keep yellow foods in moderation and ensure portion control. These foods can be part of a healthy diet but should not be consumed excessively.

Green Foods to Fill Your Kitchen With

Green foods promote fullness and nourish your body without triggering overeating:

  • Fresh vegetables and greens
  • Fresh fruits
  • Lean proteins such as chicken breast, fish, beans, mushrooms and legumes
  • Grains like different types of rice, wheat and corn.
  • Proteins such as nuts and seeds in controlled amounts.
  • Tap or spring water, teas, milk and unsweetened beverages

By focusing on green foods, you create meals that provide appetite control, body health support. By eating nutrient-dense food, Health Storey detoxers provide building blocks for the body to improve it’s health baseline.

How to Start Your Kitchen Detox Today

  1. Inventory Your Kitchen: Take a close look at everything in your pantry, fridge, and freezer.

The time it takes to inventory and label a kitchen can vary depending on the size of the kitchen, the number of food items, and how organized the space is initially. Here’s a general time estimation:

Small Kitchen (1-2 pantry/cabinet areas, fridge, freezer): 30 to 45 minutes

Medium Kitchen (3-4 pantry/cabinet areas, fridge, freezer): 45 to 75 minutes

Large Kitchen (multiple pantry/cabinet areas, large fridge & freezer): 1.5 to 2 hours

This time estimate includes:

Taking everything out for a clear view and sorting

Classifying foods into red, yellow, and green categories

Labeling items and deciding what to keep, limit, or remove

Organizing the remaining foods back into the kitchen


For a smoother process, it helps to have labeling materials ready (stickers, markers, or pre-printed labels) and to allocate some uninterrupted time to focus on the task.

Classify your Foods with labels and calorie count: Use the red, yellow, and green system based on their ability to trigger overeating.

Eliminate Red Foods: Throw away, or give away red foods you don’t need. Do not keep them in your house.

Control Yellow Foods: Limit portions and buying frequency. Make sure the calories per serving is clearly labeled for when you are making decisions on what to eat during detoxing.

Stock Up on Green Foods: Shop for fresh, whole, and nutrient-rich options knowing the calories of each food you purchase.

Create New Habits: Plan meals around the green food category to stay on track.

Detoxing your kitchen by removing overeating triggers is a powerful step toward a better and healthier lifestyle. Using the adapted traffic light system helps simplify choices and reduce decision fatigue while promoting mindful eating habits. Remember, the goal is not perfection but creating an environment that supports your well-being and helps you enjoy food without guilt or excess.

Start your kitchen detox today and take control over your cravings—your body and mind will thank you!


Disclaimer: The content on this site is for educational purposes only and is not tailored to individual subscribers. Questions or topics may not be submitted unless you are registered as a Health Storey Client. All subscribers have access to the Website FAQ . No question is answered unless the person is a registered Health Storey Client. Dr. Emmy Ann Horstkamp, JD’s research on adipose detoxification is based on self-studies and publicly available research sources. Subscription to the Trefuly websites does not confer Certified Health Story Coach status. Thank you for reading!

[/pms-restrict]

| Day Four | On-Ramping | Goal | Clean Bookshelf |

How to Clean and Organize Your Bookshelves

| A Guide | time Estimation: 60 Minutes |

Bookshelves are a treasure trove of knowledge, adventure, and inspiration. But over time, they can get cluttered and disorganized, making it hard to find your favorite book. Cleaning and organizing your bookshelf doesn’t have to be daunting—it can be done in just 60 minutes! Here’s how to organize your books, choose the best place to store them and why visiting the local library can be incredibly beneficial to your budget.

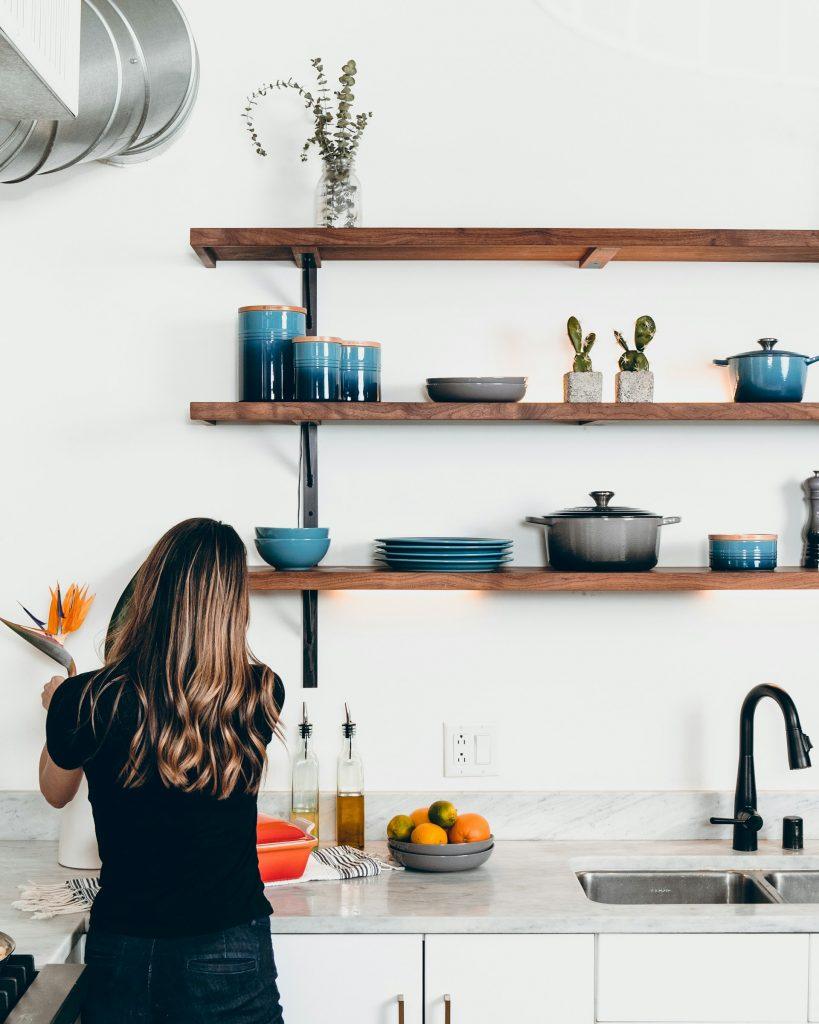
Book shelves used for storing kitchen supplies.

Step 1: Cleaning Your Bookshelf (15 Minutes)

Start by removing all the books from your bookshelf. Use a soft cloth to wipe down the shelves. This keeps your bookshelf looking good.

Step 2: Organizing Books (20 Minutes)

There are several effective ways to organize your books:

  • By Genre or Subject: Group fiction, non-fiction, cookbooks, self-help, and other categories together.
  • Alphabetically: Arrange by author’s last name or book title for easy location.
  • By Color: For a visually pleasing effect. You can use book covers to make them all the same colour.
  • By Size: To maximize shelf space and visual harmony.

Step 3: Choosing the Best Place for Books in Your Home (10 Minutes)

The ideal location for your books should have:

  • Good lighting (natural light or a cozy reading lamp).
  • A comfortable chair nearby for reading.
  • Minimal exposure to direct sunlight to prevent fading of the books.
    Common favorite locations for bookshelves and books include the include living room, bedroom, near the computer and in the closets.

Step 4: How to Pick Books from the Library and Save Money (15 Minutes)

Public Libraries are a fantastic place to discover a wide range of books at no cost. Here’s why checking out books saves you money:

  • Average book costs range from $10 to $30, depending on the genre.
  • Borrowing 10-20 books a year can save you approximately $100 to $600.
  • Libraries also offer access to audiobooks, ebooks, videos, computers and research materials.

Why Books Matter

Books open a doorto new worlds, ideas, and perspectives. They expand the imagination, provide education, and promote intellectual debate. Reading enriches your knowledge base and sharpens your critical thinking skills.

What to Read

The best information to focus on depends on your personal goals. Fiction can inspire creativity; non-fiction can improve skills or knowledge; self-help books can foster personal growth. Diversify your reading to gain a broad range of benefits.

When and Where to Read

  • Best Time to Read: Early mornings or before bed are ideal—quiet moments when you can focus.
  • Best Place to Read: A comfortable chair or nook with good lighting and minimal distractions enhances your reading experience.

Cleaning and organizing your bookshelves for 60 minutes a week can create a welcoming space that invites you to read or look up facts. Utilize your home as a place to store your books on your favourite topics and hobbies. Make the most of your local library to save money while expanding your reading horizons. Happy reading and cleaning of your bookshelves.

Example Health Storey Meal Menu Under 900 Calories

Start your day with a cappuccino and then a healthy breakfast that fuels your body and brain without excess calories:

  • Cappuccino (made with milk and sugar): ~200 calories
  • Arepas toasted in oil. ~270 calories

Total breakfast calories: ~470

For lunch and dinner, focus on whole foods like plant proteins, lots of vegetables, and whole grains. For example:

  • Lunch: Grilled plant based chicken (~300 calories)
  • Dinner: Steamed Rice with Sauteed Mushrooms (~250 calories)

Meal Plans totals around 900 – 1200 calories, keeping you satisfied while supporting weight management and energy balance.

| Health Storey Note | If you burn more NEAT calories, you will be happier at the end of the on-ramping with your weight management.


Disclaimer: The content on this site is for educational purposes only and is not tailored to individual subscribers. Questions or topics may not be submitted unless you are registered as a Health Storey Client. All subscribers have access to the Website FAQ . No question is answered unless the person is a registered Health Storey Client. Dr. Emmy Ann Horstkamp, JD’s research on adipose detoxification is based on self-studies and publicly available research sources. Subscription to the Trefuly websites does not confer Certified Health Story Coach status. Thank you for reading!

|Daily Storey Note | Picking a Good Food Prep Time

Meal Prep Mastery: The Best Time to Prep for Night Owls, Morning Birds, and In-Betweens — plus Office/Homelife Hacks and Budget-Smart Tips


Meal prepping isn’t a one-size-fits-all chore. It’s a flexible system that fits your rhythm, your space, and your wallet. Whether you’re a night owl who thrives after sundown, a sunlit morning person, or somewhere in between, you can find a prep routine that sticks. This guide breaks down the best times to prep for different chronotypes, tackles common challenges when you work from home or in a no-kitchen office, and shares practical ways to keep food costs in check.

The best time to prep, by chronotype

Night owls: late-day energy, early-start meals

  • When to prep: After dinner is complete and you’re winding down, typically around 8:30–9:30 pm. If you’re exhausted by then, aim for a 15–20 minute reset session to lay out the plan for the next day and do a quick chop or portioning.
  • What to prep: Quick, no-fuss components you can assemble later (washed greens, chopped veggies, pre-cooked grains, and proteins you can reheat). Consider a slow cooker or sheet-pan meals that need minimal hands-on time the next day.
  • Quick win ideas: Overnight oats or yogurt parfaits for breakfast; marinated veggies for easy bowls; a big batch chili or soup that tastes even better after a night in the fridge.

Morning birds: jump-start your day with momentum

  • When to prep: Early morning, before your day fully starts. A 30–60 minute block from 6:30–7:30 am can set you up for balanced lunches and dinners.
  • What to prep: Cooked grains, roasted veggies, and proteins that reheat quickly. Freshly brewed coffee plus a simple “grab-and-go” breakfast option works well.
  • Quick win ideas: One-pan breakfasts (egg muffins, veggie omelets) and a fridge-ready lunch base (quinoa or brown rice, beans, chopped veggies) you can mix with a protein in minutes.

In-betweeners: mid-day energy and flexibility

  • When to prep: Late morning to early afternoon, for many people around 11:00 am–1:00 pm. A short session mid-day can reset your plan for the rest of the week.
  • What to prep: Assemble ready-to-eat bowls, assemble-your-own-salad components, and pre-portion snacks. If you prefer savory dinners, prep components that mix well into multiple meals.
  • Quick win ideas: Create a “build-your-bowl” kit with a protein, a starch, and a couple of veggies; pre-portion snack packs (nuts, fruit, cheese); batch-cook a versatile sauce to lift several meals.

| Content Below is for Daily Subscribers Only |

[pms-restrict]

Common prep challenges: home vs. office, no kitchen, no problem
Working from home with a kitchen

  • Pros: Easy access to appliances, freedom to batch cook, and a familiar environment.
  • Cons: Kitchen can get messy fast, tempting takeout if you’re overwhelmed, and multiple meal resets in a single day.
  • Solutions:
  • Block a single, dedicated prep window (e.g., Sunday afternoon or Wednesday evening) and clear the counter first.
  • Use 1-pot or sheet-pan meals to minimize cleanup.
  • Batch-cook staples (roasted veggies, grains, beans, roasted chicken) and rotate proteins to keep meals feeling fresh.

Office work with no kitchen

  • The reality: No microwave, no stove, or no dedicated break room can make hot meals tricky.
  • Solutions:
  • Favor no-cook or minimal-heat options: mason jar salads, wraps, grain bowls with pre-cooked ingredients, yogurt parfaits, portable hummus and veggie cups, or canned fish with crackers.
  • Invest in portable cooling: a high-quality insulated lunch bag or small cooler with ice packs to keep perishables safe.
  • Stock pantry-friendly items: canned beans, shelf-stable grains (couscous, quinoa blends, instant rice), peanut or almond butter, nut mixes, shelf-stable protein pouches, whole fruit, cut vegetables in a tote or lunchbox.
  • If a microwave is allowed in your office, plan microwavable components (frozen veggie bowls, pre-chopped veggies, pre-cooked rice) and use a thermos for hot soups or stews.
  • Build “micro-meals”: 5–10 minute assembly ideas like tuna salad on whole-wheat crackers, a hearty wrap with pre-cooked chicken, chickpea salads, or Mediterranean bowls with feta and olives.

How to avoid going over budget with food prep

1) Plan first, shop second

  • Create a simple weekly plan with 3–5 core meals and 1–2 flexible meals.
  • Make a single shopping list organized by store section to avoid impulse buys.
  • Set a realistic budget per week and track it against actual spend.

2) Lean on pantry staples and seasonal produce

  • Base meals on affordable staples (dry beans, lentils, rice, oats, eggs, canned tomatoes, oats) and rotate proteins to stretch your dollars.
  • Choose seasonal produce for better flavor and lower cost. Use frozen vegetables when fresh is pricier.

3) Batch cook with purpose

  • Cook once, eat multiple times. For example, 1–2 cups of cooked grains, 2–3 cups of roasted veggies, and a few portions of protein can fuel 4–5 meals.
  • Use versatile sauces and dressings that turn the same base ingredients into different meals.

4) Portion intelligently and invest in containers

  • Invest in a set of durable, stackable containers. Pre-portion meals to avoid overeating or tossing leftovers due to forgetfulness.
  • Track cost as follows:

In meal-prep budgeting, the two most useful metrics are cost per meal and cost per serving. Here’s how to track each and why they matter, plus a simple template you can start using today.

  • Cost per meal: If you batch meals that cover several days, this shows how much each fully prepared meal costs.
  • Cost per serving: If you portion each batch into individual servings, this reveals how much you’re paying per person portion.

How to calculate (quick method)

  • Gathered groceries for the week: total spend = $X
  • Batches you prepared this week: Y (each batch is one meal)
  • Servings per batch: Z (how many portions you get from each batch)

Then:

  • Cost per batch (meal) = total spend / Y
  • Total servings = Y × Z
  • Cost per serving = total spend / (Y × Z)

Simple example

  • Groceries for the week: $40
  • Batches prepared: 4
  • Servings per batch: 4
  • Total servings: 16

Results:

  • Cost per meal (batch): $40 / 4 = $10 per batch
  • Cost per serving: $40 / 16 = $2.50 per serving

A lightweight tracker you can use

  • Week of: __
  • Groceries total: $________
  • Number of batches (meals): __
  • Servings per batch: __
  • Total servings: __
  • Cost per batch (meal): $________
  • Cost per serving: $________
  • Notes (waste, substitutions, or savings): __

Tips to improve accuracy and savings

  • Start with planned meals: list 3–5 core meals for the week, then batch them.
  • Track waste: subtract the cost of spoiled or unused items to refine future estimates.
  • Use simple categories: grains, proteins, veggies, dairy, snacks, condiments. This helps you see where you’re spending.
  • Reuse ingredients: choose base ingredients that can be used across multiple meals to keep cost per serving down.
  • Compare per-unit prices: look at cost per ounce/pound or per can/pack to get real value, not just the sticker price.
  • Budget cadence: track weekly for 4–6 weeks, then average to set a realistic weekly budget.
[/pms-restrict]

Happy New Year 2026!

Happy New Year! 4 More days before we begin our 2025 Goal Series. See you in 4 days!!! Please Register for the subscription model. The on-ramping begins every Monday. Daily Prompts are everyday. Personal Health Storey Coaching is not included in the subscription.

| Health Storey Notes |Hydration |

Here are a few recipes for drinks that are not plain water but are not filled with preservatives:

1) Green Tea Citrus Spritzer

  • Ingredients: Brewed green tea (cooled) 8 oz, fresh lemon juice 1–2 tsp, cucumber slices, mint leaves, sparkling water
  • How to make: Pour cooled green tea over ice, add lemon juice, cucumber, and mint, then top with sparkling water.
  • Why it’s detox-friendly: Green tea provides antioxidants; cucumber and mint add refreshing flavor without sugar.
[pms-restrict]

2) Ginger-Lemon Detox Tea (iced or hot)

  • Ingredients: Fresh ginger (1–2 inches, sliced), lemon juice 1–2 tsp, water, honey or stevia optional
  • How to make: Simmer ginger in water for 5–10 minutes, strain, then add lemon and optional sweetener. Chill for iced or enjoy hot.
  • Why it’s detox-friendly: Ginger supports digestion; lemon adds vitamin C and brightness.

3) Mint Sparkler

  • Ingredients: fresh mint, lime slices, small amount of sugar and sparkling water, ice
  • How to make: Add lime slices and mint together with a bit of sugar and top with sparkling water.
  • Why it’s detox-friendly: Ultra-hydrating and cooling.

4) Coconut Raspberry Water Cooler

  • Ingredients: Coconut water, Raspberry tea and Ice
  • How to make: Brew tea. Add Ice and coconut water  
  • Why it’s detox-friendly: Coconut water provides electrolytes; Raspberry tea adds antioxidants.

5) Apple-Juice Spritzer

  • Ingredients: Apple Juice, Sparkling water
  • How to make: Juice and sparkling water. Serve over ice if desired.
  • Why it’s detox-friendly: Helps with hydration with natural sugars coming from fruit.

6) Celery, apple cider and Lemons

  • Ingredients: Celery stalks, apple, lemon slices and sparkling water.
  • How to make: Combine Juice apple juice and sparkling water.  Add lemon slices and a celery stalk. 
  • Why it’s detox-friendly: Celery is hydrating; pairs well with crisp apple and citrus.

7) Hibiscus-Ginger Cooler

  • Ingredients: Hibiscus tea, fresh ginger, apple slices.
  • How to make: Brew hibiscus tea,add thin ginger slices and apples; sweeten with sugar  if needed.
  • Why it’s detox-friendly: Vibrant color and flavor; hibiscus is rich in polyphenols.
[/pms-restrict]

Dailystorey.com

Disclaimer: The content on this site is for educational purposes only and is not tailored to individual subscribers. Questions or topics may not be submitted unless you are registered as a Health Storey Client. All subscribers have access to the Website FAQs . No question is answered unless the person is a registered Health Storey Client of Dr. Emmy Ann Horstkamp, JD’s who is doing research on adipose detoxification based on self-studies and available research by other sources. Subscription to the dailystorey.com website does not confer a Certified Health Story Coach status to subscribers or make a subscriber a health coaching client.  Thank you for reading!

Welcome to Daily Storey


Welcome to Daily Storey!

At Daily Storey, Dr. Emmy Horstkamp, JD shares her approach to Health Storey and the detoxification of the Adipose. The Health Storey program believes in prioritizing your health needs, preferences, and goals, encouraging positive motivation. The Health Storey philosophy embraces Healthy Life Pivots—understanding that true well-being comes from balancing current contemporary lifestyles with goals of a healthy lifestyle.

All Health Storey detoxers begin by following an on-ramping goal for the day and a simple suggested menu:

  • On-Ramping Day 1
  • On-Ramping Day 2
  • On-Ramping Day 3

The information for the on-ramping is dated with the date the material was added to Daily Storey. If you begin reading the on-ramping, begin on day one. If you are a subscriber you have access to the current year’s educational data for the adipose detoxification program as it is posted. The information remains available for 2026.


Disclaimer: The content on this site is for educational purposes only and is not tailored to individual subscribers. Questions or topics may not be submitted unless you are registered as a Health Storey Client. All subscribers have access to the Website FAQ . No question is answered unless the person is a registered Health Storey Client. Dr. Emmy Ann Horstkamp, JD’s research on adipose detoxification is based on self-studies and publicly available research sources. Subscription to the Trefuly websites does not confer Certified Health Story Coach status. Thank you for reading!