Make a Reminder to send out on Wednesday for your Saturday date. If you would like to make your own, I made this Jpg on Adobe Express.



Health Storey Daily for Clients
Make a Reminder to send out on Wednesday for your Saturday date. If you would like to make your own, I made this Jpg on Adobe Express.
Saturdays are the best day for a couple date: free time, relaxed energy, and weekend events. Even though there are many things to do on a weekend, proposing a future Saturday date can be tricky—especially when you’re juggling schedules or trying to figure out what the other person’s interest might be. This guide gives you a simple, low-pressure plan to pick a couple of Saturdays, propose one or two options, and lock in a date that feels natural and fun.
For Example: five days before Valentine’s day here is a Saturday, February 14, 2026 Scenerio. Ideally you would ask two weeks in advance.
Two quick templates you can adapt:
Activity ideas by Saturday energy
How to propose a plan that feels thoughtful and not overly romantic
What to do once they say yes to your invitation
If Saturday doesn’t work because of conflicting plans or schedule, here are graceful alternatives
Communication etiquette to keep it smooth
Quick checklist you can copy into your notes
Here are five distinct energy bar recipes you can make at home. All are no-bake, fairly quick, and yield about 12 bars each (cut to about 2×3 inches). They’re adaptable for allergies and preferences.

Yield: Depends
Total time: 60 minutes with overnight resting time not included
1 1/2 cups dates, pitted
1 cup almonds
1/2 cup shredded unsweetened coconut
1–2 tablespoons coconut oil
Pinch salt
1 teaspoon vanilla extract
In a food processor or hand blender, blend dates until a sticky paste forms.
Add almonds, coconut, salt, vanilla, and coconut oil to the dates and pulse until finely chopped and well combined.
Scoop onto parchment and let chill for energy bites. Press into rectangles for energy bars.
Chill overnight then package to eat for breakfast or light lunch.
Tips:
Add dried fruit or honey for sweetness.
Add nut butter for more protein.
For Today’s Valentine’s prep create a digital photo collage that tells a story, captures a vibe, or highlights a theme. Here’s a practical guide you can use right away, plus ready-to-use ideas.
Have a Purpose: Decide what the collage should convey. A memory? A mood? Pick what idea you want to share with the collage.
Choose a Format: Pick the size for the collage. A size that your printer can print makes collaging and framing easiest.
Mix photos to have a variety: Mix the types of photos you are using -wide, medium, close-up. Include both people and context to balance the collage.
Be Cohesive: Use a limited color palette or a single filter, if you are making a digital collage, to make images feel connected.
Text placement: Add a short caption or date if it helps tell the story, but don’t overdo it unless text is part of the collage.
8–15 photos is a good starting range for many templates; fewer for a bold, simple look, more for a full narrative. Include:
1 main image
3–5 supporting images that add context or contrast
2–6 detail shots (textures, objects, places)
Make sure to have a Balanced number of people, places, and things in the photographs to avoid a photo‑heavy collage that feels lopsided.
Choose at least one wide establishing shot and one close‑up or candid moment for the collage.
Check variety in lighting and color to avoid a jarring collage. For examples look at Pintrest or Adobe Express.
Grids: Equal-sized images in a clean grid; good for social posts.
Main photo and a grid: One large center photo with smaller images radiating around it.
Timeline strip: A horizontal or vertical line of images that tells a chronological story.
Overlay and caption: One image with a semi-transparent color wash and a short caption/date. Easy to create with a digital file.
Aspect ratio: Decide early (square for IG posts, 4:3 or 16:9 for prints/wallpaper).
Color: Apply a unifying filter or adjust white balance so skin tones look natural and colors don’t clash.
Borders and shadows: Soft white/gray borders or subtle drop shadows help images separate without feeling busy.
Text: Use 1–2 fonts total; keep captions short (dates, locations, a few words). Ensure readability against any image.
Spacing: Leave consistent margins around images; avoid crowding—negative space helps the collage breathe.
Resolution: Export at least 300 PPI for prints; 1080×1080 or 1920×1080 for social, depending on platform.
– Canva: Large library of collage templates; great for quick, polished results.
– Adobe Creative Cloud Express (formerly Spark): Easy templates and text options.
– Google Photos: Simple collage maker built into Photos app; fast for quick sharing.
1) Define purpose and size: choose your final format (e.g., square 1080×1080).
2) Gather photos: pick 8–15 images that tell the story; grab a main photograph.
3) Pre-edit: lightly crop to the target aspect ratio; adjust exposure/white balance if needed.
4) Choose layout: pick a template or sketch a simple plan (hero center, others around).
5) Arrange and tune: place images, adjust sizes, add a subtle color wash if desired.
6) Add text only if it adds meaning: date, location, short caption.
7) Export: save high-resolution for prints; export optimized size for web.
8) Quick check: view on a phone and on a computer screen to ensure readability and balance.
Here is the link to the full article about Creating a Note for Valentines Day. Share the note today, February 3.
The full list of Valentine Countdown Activities | Today’s Article about Writing Notes

Origami-inspired note formats are an interesting way to make the act of keeping a note feel special and decorative. Here are two simple ideas you can try today while writing a love note for Valentine’s day.
– What you need: a square sheet of paper (4 x 4 inches works well).
Instructions: Folding the Note.
1) Write your note on one side of the square.
2) Fold the paper in half horizontally to make a rectangle; crease well.
3) Fold the top edge down to meet the bottom edge, forming a smaller square; crease.
4) Fold the left and right edges toward the center to create a little pocket at the bottom.
5) Tuck the folded note into the pocket so you can pull it out when you’re ready to read it.
Why it’s worth creating an origami note: you get a tactile note you can carry in a binder or planner that invites you to keep it.
– What you need: a rectangle sheet of paper.
– How to fold:
1) Write your note on one side.
2) Fold the sheet in half lengthwise to create a long card.
3) Fold the top and bottom edges toward the center to form a slim, flat bookmark with a pocket in the middle for a small slip of paper containing your note.
This note doubles as a bookmark and a note carrier, so you can make the card again for different books or as your loved one finishes a chapter. The card is special but is still simple to make.
As you plan trips and look toward a healthier routine, this week’s newsletter brings you a practical, easy-to-follow prep plan. We’ve lined up daily goals to get your space, your packing, and your meals on track—plus a February veggies spotlight to keep your plate vibrant even while you’re on the go.
– Monday, January 26: Empty Trash from House
– Tuesday, January 27: Organize a Drawer
– Wednesday, January 28: Vacuum the House
– Thursday, January 29: Prepare to Leave on a Trip
– Friday, January 30: Organize Travel Bags, Clean Them
– Saturday, January 31: Travel Luggage for a Weekend
– Sunday, February 1: February is About Eating More Vegetables
– Hydration on the go: Carry flavour packets. My favourite drink mix contains 3 grams of electrolytes that hydrate and add flavour to city tap water or bottle of water you purchase at the store. If you are packing light, you do not need to bring your own drink containers on your trip.
– Smart Lunch options: Before lunch or dinner, eat a handful of nuts to add protein to your meal. While traveling, your meals may not be as balanced or may contain less protein than at home.
-Focus on Neat Movement: You will be on a flight, spend the time at the airport standing or walking around. Track your mileage on your phone. Make sure to use the bathroom before getting on the plane and limit what you eat while flying. Grab a beverage when you land to drink while going through customs and picking up your luggage.
Sleep: Take ear buds and a travel pillow. You can buy a travel pillow at the airport for around ten dollars and give it to someone as a gift. Once you are at your destination, stay awake as long as you can to avoid jet lag. Carry a compact eye mask, earplugs, a small pillow, and a reusable tote for day trips.
Travel health kit: Grab the first aid kit you created for traveling and make sure it includes: basic bandages, antiseptic wipes, pain relievers, any personal meds, homemade ginger candy.
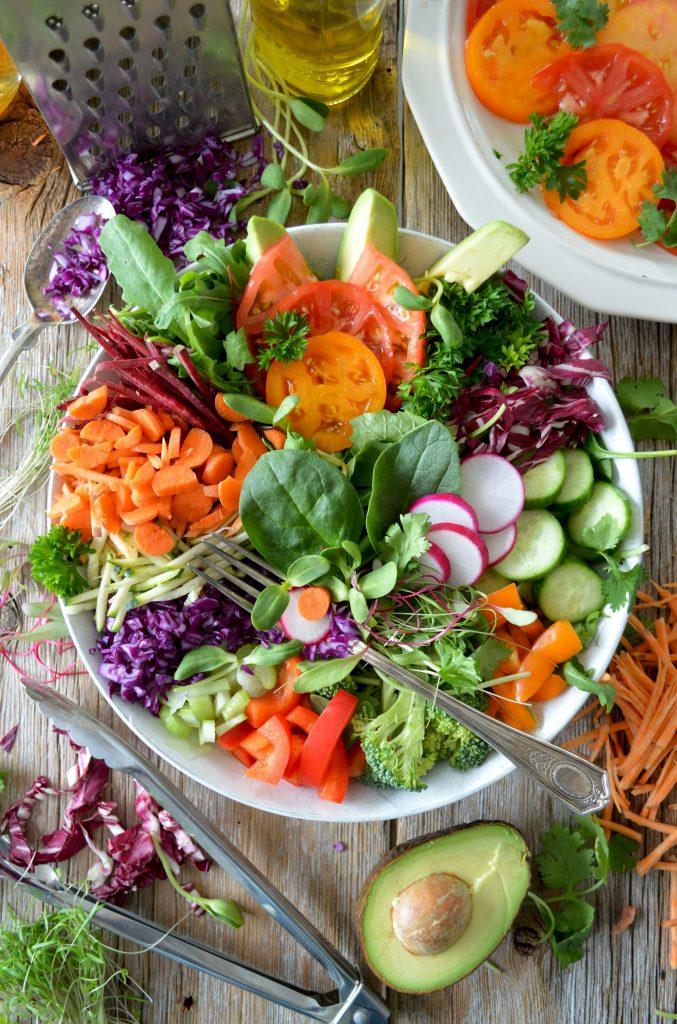
– Veggies of the Month: Bok choy Mushrooms, Peppers and Lettuce. Each week the focus will be on adding vegetables to our rice for breakfast and lunch.
Topics for Feb: Quick Prep for Veggies, Storage ideas and nutritional information and research on different vegetables being added into the Daily Story month.