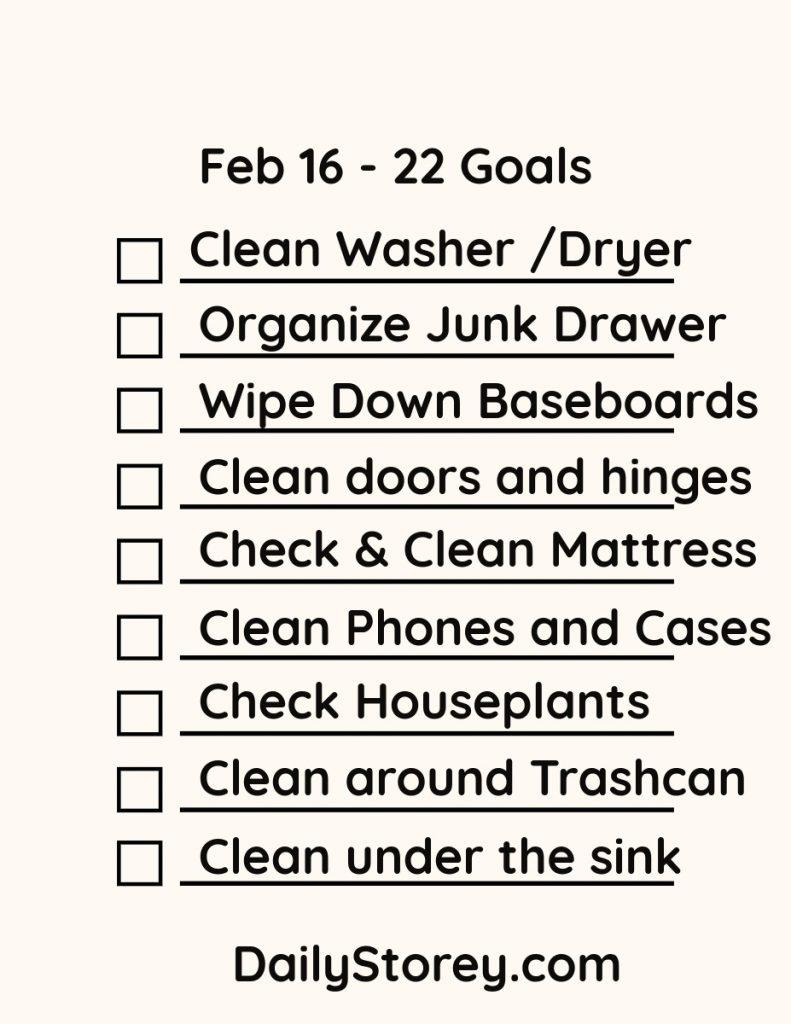


Review of Progress: Recurring Tasks, Deadlines, Projects,

Vacation Binder – Away from Desk Binder – Schedule a Meeting for next week. May use this jpg.

Meeting Itinerary: The Handover Alignment For Planned Absence Vacation

Duration: 45–60 Minutes Meeting Length

Goal: Clarify ownership, finalize deadlines, and pause / Notify Delay of Implementation of New Projects

TimeSegmentPurpose
00-05 minCountdownState departure/return dates and “hard stop” time to meeting attendees.
05-20 minStatusHigh-level overview of what will be finished vs. what is paused or delayed during absence.
20-40 minDelegation During AbsenceAssigning contact person for specific tasks or workflow while absent
40-50 minEmergency ProtocolDefining what constitutes an actual emergency while the Desk is on Vacation
50-60 minQ&A / FeedbackClear up any ambiguity with the team and take notes to add to Vacation Binder

Layout of the Presentation Slides

Slide 1: Out of Office Logistics

  • Dates: [Start Date] to [Return Date].
  • Last Available Hour: [e.g., Friday at 3:00 PM].
  • Communication Status: “Fully Offline” (highly recommended) or “Emergency Only.”

Slide 2: Before Vacation Completion Goals

  • List 3–5 high-priority items to be completed before leaving.
  • Q & A on Tasks to be completed, delegation if necessary to team members to ensure completion.

Slide 3: Work on Hold

  • List projects that are paused while on vacation.
  • Provide a restart date for project items and update clients with update right before absence.

Slide 4: Delegation & Ownership

  • Task A: [Point Person Name] – responsible for [specific output].
  • Task B: [Point Person Name] – responsible for [specific output].
  • Internal Approvals: Pre-approval for Point Person A and Point Person B for certain tasks.

Slide 5: Triage & Escalation

  • Step 1: Discuss the Vacation Binder and how to find information on your projects.
  • Step 2: Contact and operational questions in your Binder
  • Step 3: Contact and upper level management that might need to be contacted.
  • Emergency Contact: Only to be used if Contact Persons are unable to respond.
  • Update your Email Signature: Mention your upcoming absence and What the focus of your work is for your clients.
  • Record Loom Videos: For complex tasks you are delegating ensure your department as an alternative person with similar skill levels to complete the tasks.


Financials in Binder when Away from DESK at Work | 30 Day Prep

When leaving financial responsibilities in the hands of coworkers, the goal is to provide access without overexposure. Here is a checklist of the financial info you should leave on your desk in your binder before you head out:

The “Immediate Action” List

This is for anything with a hard deadline that falls during your vacation dates.

  • Pending Approvals: List any invoices, expense reports, or payroll runs that need a “green light” while you’re gone.
  • Maturity Dates: If you manage short-term investments or CDs, note if any are set to roll over or expire.
  • Auto-Pay Confirmations: A quick list of what should happen automatically so they can double-check the “Monarchy” is actually running itself.

Access & Authentication

  • Emergency Contact for Banks: Don’t leave your full account numbers out, but do leave the name and direct line of your Relationship Manager or dedicated bank contact.
  • Token/MFA Protocol: If your system requires a physical security key or a “soft token” on a phone, ensure you’ve designated a backup person who has been granted “Proxy Access” through the bank’s portal (never share your own password!).
  • Software Logins: Ensure they have access to the accounting software (QuickBooks, Xero, etc.) under their own credentials.

The Guide When Something Goes Wrong

  • Threshold Limits: “If an emergency expense is under a corporate mandated amount, it is approved by corporate. If it’s over, call [X person].”
  • Fraud Contacts: The direct number for the bank’s fraud department in case a suspicious transaction appears on the corporate card while you’re offline.
  • Vendor List: A “Who’s Who” of your most important suppliers, so if a vendor calls claiming they haven’t been paid, your coworker knows exactly who to check with.

What to Keep Off Your Desk

For the sake of security make sure these stay away from your Work Desk.

  • Personal Financial Documents: Bank statements, tax returns, or payroll stubs that show your specific salary and personal finances.
  • Physical Checks: Never leave a “signed blank check” or even a book of unsigned checks in an unlocked drawer at work.
  • Master Passwords: Keep them away from the binder if work colleagues do not need access to the data.

Normal Work Meeting Frequency in the USA | Lent Prep | Easter Prep |

Standard Meeting Cadences

Meeting TypeFrequencyPrimary Purpose
1:1 (Manager/Report)Weekly or Bi-weeklyCareer development, roadblocks, and personal check-ins.
Casual Water Cooler MeetingDaily (15 mins)Quick tactical alignment: “What did I do, what will I do, Issues?
Team Staff MeetingWeeklyHigh-level project updates & department news.
Project SyncWeekly or Bi-weeklySpecific look into a live project with a cross-functional group.
Monthly All-HandsMonthlyCompany-wide transparency, big wins, and long-term strategy positive meeting – never negative.
RetrospectivePost-Project or QuarterlyReviewing what went well and what needs to change for the next project.

For Home life, I have been sharing content on this blog for family relationship dynamics.

Valentine Prep | Create a Photo Collage

Create a Photo Collage | Digital or using prints | Valentine Day |

For Today’s Valentine’s prep create a digital photo collage that tells a story, captures a vibe, or highlights a theme. Here’s a practical guide you can use right away, plus ready-to-use ideas.

The Basics:

Have a Purpose: Decide what the collage should convey. A memory? A mood?  Pick what idea you want to share with the collage. 

Choose a Format: Pick the size for the collage.  A size that your printer can print makes collaging and framing easiest.

Mix photos to have a variety: Mix the types of photos you are using -wide, medium, close-up.  Include both people and context to balance the collage.

Be Cohesive: Use a limited color palette or a single filter, if you are making a digital collage, to make images feel connected.

Text placement: Add a short caption or date if it helps tell the story, but don’t overdo it unless text is part of the collage.

Photo selection tips

8–15 photos is a good starting range for many templates; fewer for a bold, simple look, more for a full narrative. Include:

  1 main image 

  3–5 supporting images that add context or contrast

  2–6 detail shots (textures, objects, places)

Make sure to have a Balanced number of people, places, and things in the photographs to avoid a photo‑heavy collage that feels lopsided.

Choose at least one wide establishing shot and one close‑up or candid moment for the collage.

Check variety in lighting and color to avoid a jarring collage. For examples look at Pintrest or Adobe Express.

Layout ideas

Grids: Equal-sized images in a clean grid; good for social posts.

Main photo and a grid: One large center photo with smaller images radiating around it.

Timeline strip: A horizontal or vertical line of images that tells a chronological story.

Overlay and caption: One image with a semi-transparent color wash and a short caption/date. Easy to create with a digital file.

Design and editing tips

Aspect ratio: Decide early (square for IG posts, 4:3 or 16:9 for prints/wallpaper).

Color: Apply a unifying filter or adjust white balance so skin tones look natural and colors don’t clash.

Borders and shadows: Soft white/gray borders or subtle drop shadows help images separate without feeling busy.

Text: Use 1–2 fonts total; keep captions short (dates, locations, a few words). Ensure readability against any image.

Spacing: Leave consistent margins around images; avoid crowding—negative space helps the collage breathe.

Resolution: Export at least 300 PPI for prints; 1080×1080 or 1920×1080 for social, depending on platform.

Tools and templates to try

– Canva: Large library of collage templates; great for quick, polished results.

– Adobe Creative Cloud Express (formerly Spark): Easy templates and text options.

– Google Photos: Simple collage maker built into Photos app; fast for quick sharing.

Step-by-step easy workflow for a digital Collage

1) Define purpose and size: choose your final format (e.g., square 1080×1080).

2) Gather photos: pick 8–15 images that tell the story; grab a main photograph.

3) Pre-edit: lightly crop to the target aspect ratio; adjust exposure/white balance if needed.

4) Choose layout: pick a template or sketch a simple plan (hero center, others around).

5) Arrange and tune: place images, adjust sizes, add a subtle color wash if desired.

6) Add text only if it adds meaning: date, location, short caption.

7) Export: save high-resolution for prints; export optimized size for web.

8) Quick check: view on a phone and on a computer screen to ensure readability and balance.