Daily Goal | Valentine Prep | Cook a Meal Together

Cook a meal together. Make it less stressful by prepping the meal in advance

Cooking a meal together creates memories and traditions: Cooking a meal together as a couple on Valentine’s day is an option but planning a weekly cooking night can become a romantic gesture strengthening your relationship. Cooking memories such as the day you grilled garlic or tasted a new sauce are great ways to build up joint memories.

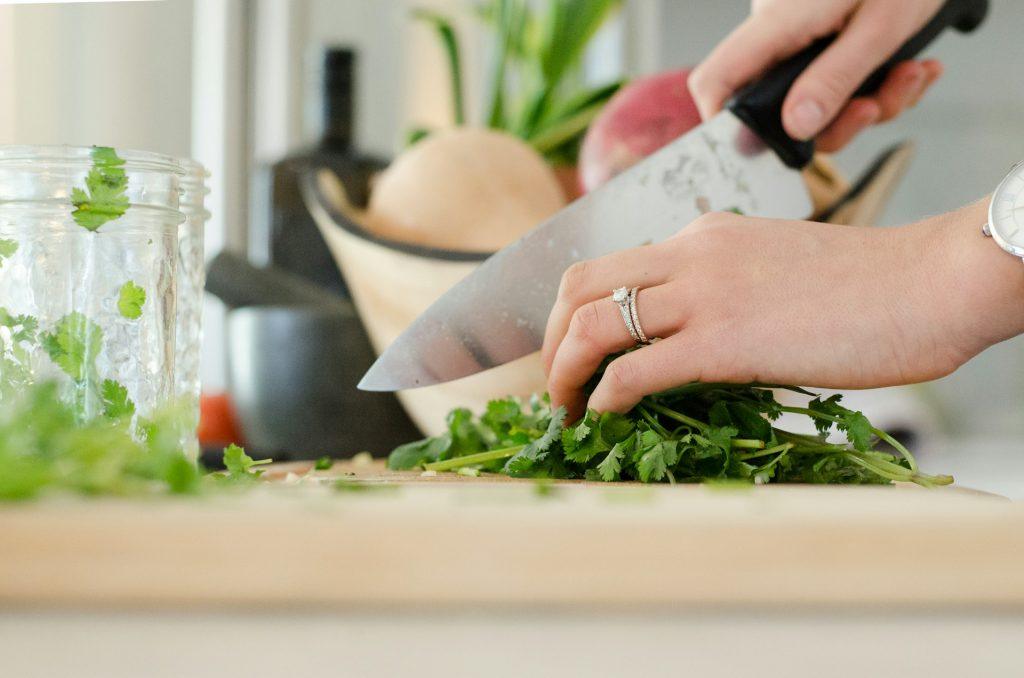
By cooking together, you improve your cooking skills and maybe become gourmets. As a couple, you can learn new cooking skills or research new cooking equipment. Even a simple dish can become a way to explore new cultures, family histories and personal taste.

Don’t Make Excuses

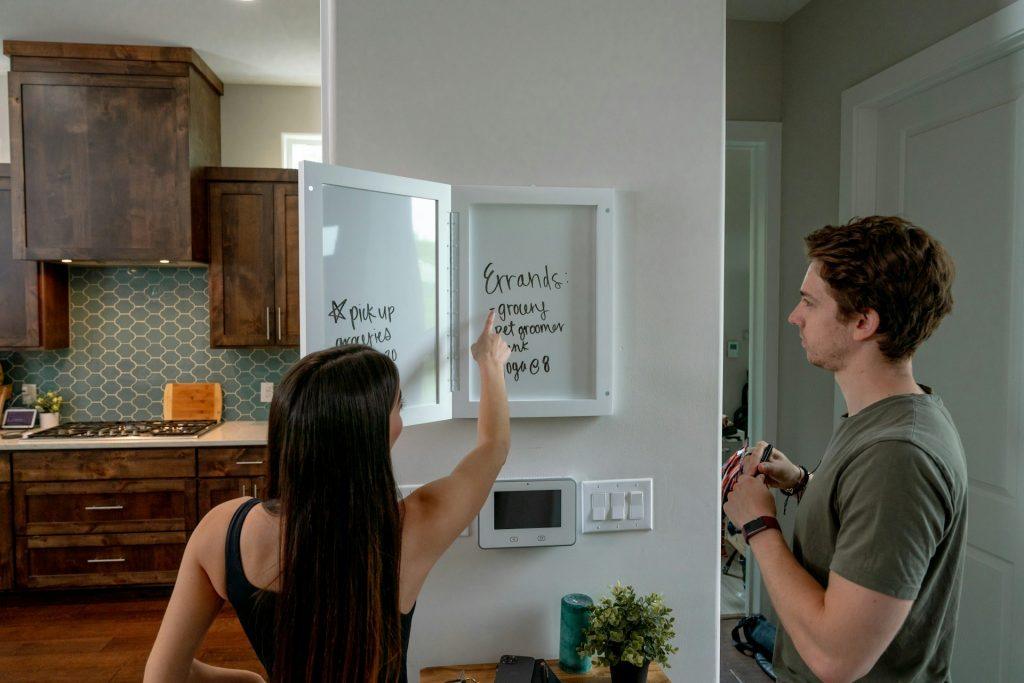
– “We’re too busy.” Start small: a 20–30 minute meal window once a week can become a reliable routine. Plan ahead with a simple, one-pot or sheet-pan recipe, or pre-measure ingredients the night before.

“Some of us don’t want to cook.” Make it a life experience. You are a team cooking to reduce your food budget or save to go out and eat. Helping to cook meals or prep the kitchen for cooking helps strengthen your family relationship and family bonds.

“We argue over taste.” Pick a flexible recipe that can be spiced up with sauces. Build a base meal and offer optional add-ins so people can customize without conflict.

Practical tips for Cooking Together

Rotating roles keeps everyone engaged and prevents one person from always doing the boring tasks.

Make cleanup part of the plan and clean as you are cooking. Don’t wait until the end of the prep to wash, wipe, and put away. A quick cleanup will keep everyone happy and prevent leftovers from piling up.

Create a playlist for cooking or look for one on Youtube.

Valentine Cooking Date | Date Night ideas to try

Build-your-own pizza night: Prepare dough (or use store-bought), set out toppings, and let everyone craft their own mini pizza. It’s fast, fun, and allows for plenty of customization.

A Taco or Nacho bar: Soft tortillas, seasoned meat or beans, and a colorful array of toppings. Great for a quick, social cooking experience.

Pasta party: Create Fresh Pasta, Boil, toss with a simple sauce, and finish with cheese, herbs. Make a garlic bread on the side.

Cooking a meal together is a repeatable act of teamwork that can strengthen communication and offer opportunities for more communication.

DIY | Energy Bars | 2 Recipes | Daily Goal | Valentine Prep |

Here are five distinct energy bar recipes you can make at home. All are no-bake, fairly quick, and yield about 12 bars each (cut to about 2×3 inches). They’re adaptable for allergies and preferences.

Almond Coconut Date Energy Bites / Bars

Yield: Depends

Total time: 60 minutes with overnight resting time not included

Ingredients:

1 1/2 cups dates, pitted

1 cup almonds

1/2 cup shredded unsweetened coconut

1–2 tablespoons coconut oil

Pinch salt

1 teaspoon vanilla extract

Instructions:

In a food processor or hand blender, blend dates until a sticky paste forms.

Add almonds, coconut, salt, vanilla, and coconut oil to the dates and pulse until finely chopped and well combined.

Scoop onto parchment and let chill for energy bites. Press into rectangles for energy bars.

Chill overnight then package to eat for breakfast or light lunch.

Tips:

Add dried fruit or honey for sweetness.

Add nut butter for more protein.


Cranberry Orange Pistachio Bars

  • Yield: Depends
  • Total time: 60 minutes

Ingredients:

  • 1 1/2 cups rolled oats (135 g)
  • 1 cup dried cranberries (125 g)
  • 1 cup pistachio kernels roughly chopped
  • Zest of 1 orange
  • 1/3 cup orange juice
  • 2 tablespoons lemon or orange zest (optional)
  • 2 tablespoons coconut oil
  • Pinch salt

Instructions:

  • In a large bowl, combine oats, cranberries, pistachios, orange zest, and salt.
  • In a small pan, warm orange juice with coconut oil until smooth; pour over dry mix and stir to combine.
  • Press firmly into a lined pan to create bars and chill overnight.

Storage and variations

  • Storage: Keep bars in an airtight container in the refrigerator for up to 1 week; they’ll freeze well for up to 1 month.

Substitutions:

  • Use gluten-free oats if needed to make them GF.
  • For vegan options, swap honey for maple syrup and choose plant-based butters.
  • Swap nuts/seed types as desired to suit allergies or taste.

|Day Six | Organize the Refrigerator and Add a Content List to Front Door | On-Ramping

Transforming Your Refrigerator into a Central Command Center: On-Ramping Goals & Meal Prep Inventory

Your refrigerator door isn’t just for displaying takeout menus or magnet souvenirs; it’s prime real estate for practical organization. By leveraging its highly visible surface, you can transform it into a dynamic command center for both your project goals and your kitchen inventory. This method ensures crucial information is always front-and-center, fostering accountability and reducing food waste.

The Power of the Fridge Door as an Information Hub

Placing important lists on the refrigerator door works because:

  • High Visibility: It’s a household appliance everyone interacts with multiple times a day. You can’t ignore it.
  • Constant Reminder: Visual cues reinforce intentions and prevent tasks or ingredients from being forgotten.
  • Shared Access: It’s easily accessible for all household members, promoting collective awareness and participation.

On-Ramping Goal List: Visualizing Progress

Whether you’re “on-ramping” a new fitness routine, a complex work project, a new household habit, or even a new family member into a routine, displaying the goals visibly can significantly boost momentum and clarity.

Why the Fridge?
For any new initiative, consistency and clarity are key. A constantly visible goal list on the fridge serves as a daily reminder of what needs to be done, the next steps, and the overall objective, preventing drift and maintaining focus.

How to Implement Using Post-its, Whiteboards & Magnets:

  • Dedicated Whiteboard Section: Dedicate a small magnetic whiteboard or a section of a larger one specifically for your “On-Ramping Goals.”
    • Structure: Title it clearly (e.g., “Project X On-Ramp,” “New Habit Launch,” “Family Chore Integration”).
    • Milestones: List major phases or key milestones using a dry-erase marker.
    • Dates: Add target dates for each milestone.
  • Post-it Note Task Breakdown: For actionable steps within each milestone:
    • Individual Tasks: Write each specific task on a separate Post-it note.
    • Color-Coding: Use different colored Post-its for different categories of tasks (e.g., green for completed, yellow for in-progress, pink for next steps).
    • Movement: As tasks are completed, move the Post-it to a “Done” section on the whiteboard or simply remove it.
  • Magnetic Indicators: Use small, distinct magnets to:
    • Highlight Priority: Place a star magnet next to the most urgent task.
    • Indicate Owner: Assign different shaped magnets to different family members responsible for a task.
    • Track Progress: Move a magnet along a linear goal path drawn on the whiteboard.

Example Content:

  • Whiteboard Header: “Body Renovation Project – Phase 1”
  • Whiteboard Milestones:
    • Week 1: Research & Inspiration
    • Week 2: Budgeting for Renovation
    • Week 3: Final Action Plan

2. Meal Prepping Contents: Mastering Your Inventory

For those who meal prep, knowing exactly what’s in your fridge (and when it needs to be used) is a game-changer for reducing food waste, saving money, and streamlining cooking.

Why the Fridge?
Instead of rummaging through containers, an external inventory provides an instant overview of prepared meals, ingredients needing to be used, and their freshness status, making meal selection and future planning much easier.

How to Implement Using Post-its, Whiteboards & Magnets:

  • Dedicated Whiteboard Section: Reserve a section of your fridge door whiteboard for “Fridge Contents” or “Meal Prep Inventory.”
    • Columns: Draw columns for “Item,” “Quantity,” and “Use By/Prep Date.” Think about creating a spreadsheet to print for the door.
  • Post-it Note Item Tracking: This is where Post-its shine for dynamic inventory management.
    • Each Item, One Note: When you prep a dish or store a specific ingredient (e.g., “Grilled Chicken Breast,” “Chopped Bell Peppers,” “Lentil Soup”), write it on a Post-it.
    • Date Added/Use By: Crucially, add the date it was prepped or the “use by” date.
    • Location: You can even note which shelf it’s on (e.g., “Top Shelf – Left”).
    • Removal: Once an item is consumed or used up, simply peel off and discard the Post-it.
  • Magnetic Categories/Indicators:
    • “Eat First” Magnet: Use a distinctive magnet (e.g., a bright red one) to highlight items that are nearing their “use by” date and need to be prioritized.
    • Section Dividers: If your whiteboard is large, use magnetic strips to divide sections for “Cooked Meals,” “Prepped Veggies,” “Sauces,” etc.
    • Quantity Markers: Small number magnets could indicate the number of servings or portions remaining.

Example Content:

  • Whiteboard Header: “Fridge Inventory – Week of Oct 2”
  • Post-it Notes:
    • “Chicken Stir-fry (2 serv) – Ppd Oct 1” (with a “Eat First!” magnet)
    • “Hard-boiled Eggs (x6) – Ppd Sept 30”
    • “Chopped Carrots – Ppd Oct 1”
    • “Quinoa (3 cups) – Ppd Sept 30”
    • “Broccoli Florets – Fresh”

By consistently utilizing your refrigerator door with these simple yet effective tools, you create a visual management system that supports goal attainment and optimizes your kitchen workflow, turning a common appliance into an indispensable organizational asset.

|Daily Storey Note | Picking a Good Food Prep Time

Meal Prep Mastery: The Best Time to Prep for Night Owls, Morning Birds, and In-Betweens — plus Office/Homelife Hacks and Budget-Smart Tips


Meal prepping isn’t a one-size-fits-all chore. It’s a flexible system that fits your rhythm, your space, and your wallet. Whether you’re a night owl who thrives after sundown, a sunlit morning person, or somewhere in between, you can find a prep routine that sticks. This guide breaks down the best times to prep for different chronotypes, tackles common challenges when you work from home or in a no-kitchen office, and shares practical ways to keep food costs in check.

The best time to prep, by chronotype

Night owls: late-day energy, early-start meals

  • When to prep: After dinner is complete and you’re winding down, typically around 8:30–9:30 pm. If you’re exhausted by then, aim for a 15–20 minute reset session to lay out the plan for the next day and do a quick chop or portioning.
  • What to prep: Quick, no-fuss components you can assemble later (washed greens, chopped veggies, pre-cooked grains, and proteins you can reheat). Consider a slow cooker or sheet-pan meals that need minimal hands-on time the next day.
  • Quick win ideas: Overnight oats or yogurt parfaits for breakfast; marinated veggies for easy bowls; a big batch chili or soup that tastes even better after a night in the fridge.

Morning birds: jump-start your day with momentum

  • When to prep: Early morning, before your day fully starts. A 30–60 minute block from 6:30–7:30 am can set you up for balanced lunches and dinners.
  • What to prep: Cooked grains, roasted veggies, and proteins that reheat quickly. Freshly brewed coffee plus a simple “grab-and-go” breakfast option works well.
  • Quick win ideas: One-pan breakfasts (egg muffins, veggie omelets) and a fridge-ready lunch base (quinoa or brown rice, beans, chopped veggies) you can mix with a protein in minutes.

In-betweeners: mid-day energy and flexibility

  • When to prep: Late morning to early afternoon, for many people around 11:00 am–1:00 pm. A short session mid-day can reset your plan for the rest of the week.
  • What to prep: Assemble ready-to-eat bowls, assemble-your-own-salad components, and pre-portion snacks. If you prefer savory dinners, prep components that mix well into multiple meals.
  • Quick win ideas: Create a “build-your-bowl” kit with a protein, a starch, and a couple of veggies; pre-portion snack packs (nuts, fruit, cheese); batch-cook a versatile sauce to lift several meals.

| Content Below is for Daily Subscribers Only |

You must be logged in to view this content.